How to Re-Pot an Orchid: A Step-by-Step Guide
Repotting an orchid is essential to maintain its health, refresh the potting medium, and provide room for root growth.
Whether you’re using a pot or a hanging basket, this guide offers practical steps, focusing on epiphytic orchids like Vanda, Phalaenopsis, Cattleya, Oncidium, or Dendrobium.
Why Repot an Orchid?
Orchids need repotting every 1-2 years or when:
- The potting mix breaks down, retaining too much water and risking root rot.
- Roots outgrow the pot or basket, becoming cramped.
- The orchid shows signs of stress (e.g., yellowing leaves, poor blooming).
- Pests or mold appear in the medium.
Repotting refreshes the environment, promotes healthy roots, and supports vibrant blooms, aligning with the needs of lawn care enthusiasts seeking thriving plants.
Materials Needed
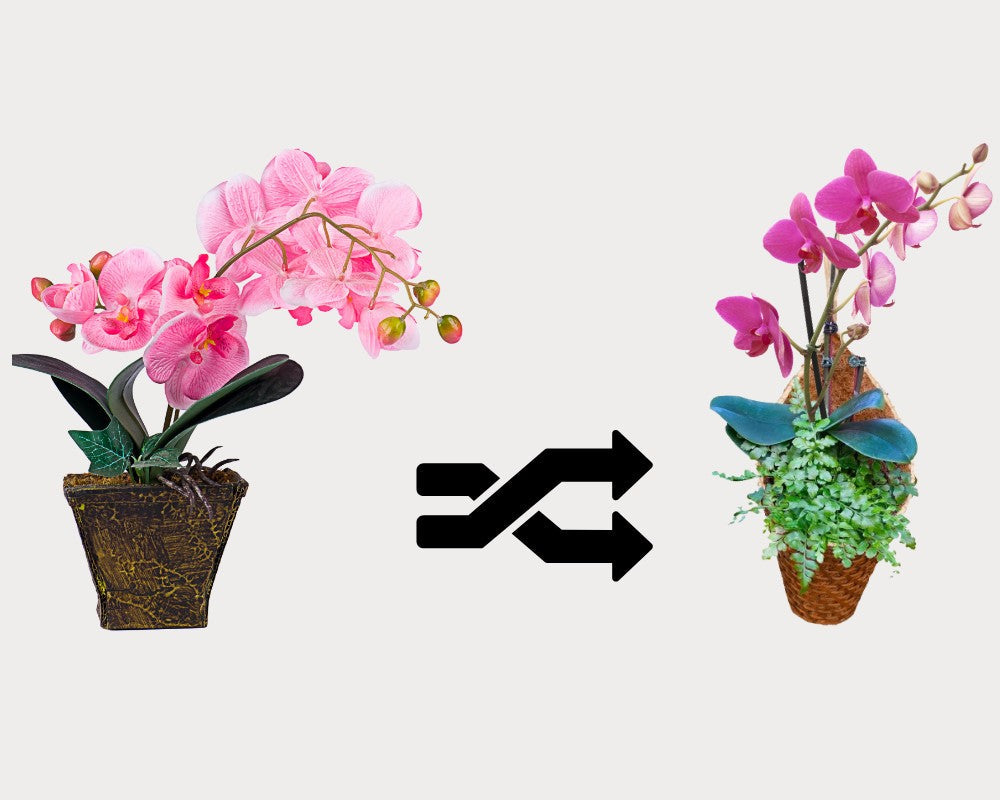
- New pot or basket. In this case, we recommend the Panwa Handmade 100% Thai Bamboo Hanging Basket.
- Fresh potting mix.
- Sterilized pruning shears.
- Clean workspace, gloves, and a bucket for soaking.
Step-by-Step Guide to Repotting an Orchid
1. Choose the Right Time
Tip: Repot after blooming, typically in spring or early summer, when the orchid enters a growth phase. Avoid repotting during active flowering to prevent stress.
Why It Matters: Repotting at the right time supports new root and leaf growth, ensuring a smooth transition.
Action: Check your orchid’s bloom cycle (e.g., Phalaenopsis blooms last 2-3 months). Wait until flowers fade before starting.
2. Prepare the New Pot or Basket
Tip: Select a pot or basket 1-2 inches larger than the current one. Ensure it has multiple drainage holes or open slats for airflow.
Why It Matters: Proper size and drainage prevent root rot and accommodate 1-2 years of growth, ideal for epiphytes.
Action: Soak terracotta pots or wooden baskets in water for 10 minutes to prevent moisture absorption from the mix. For baskets, add a coconut coir liner to retain the medium.
3. Remove the Orchid from Its Current Container
Tip: Gently squeeze the pot or basket to loosen the orchid. If roots are stuck, soak the container in water for 5-10 minutes to ease removal. For baskets, carefully untangle roots from slats.
Why It Matters: Minimizing root damage preserves the orchid’s ability to absorb water and nutrients.
Action: Hold the orchid by its base and wiggle it free. Avoid pulling forcefully to prevent tearing healthy roots.
4. Clean and Trim the Roots
Tip: Rinse roots under lukewarm water to remove old mix. Use sterilized Fiskars Pruning Shears to trim dead, brown, or mushy roots, leaving healthy green or white roots intact.
Why It Matters: Healthy roots (firm, green-tipped) are essential for growth; removing damaged ones prevents rot and pests.
Action: Sterilize shears with rubbing alcohol before and after use. Cut only unhealthy roots, preserving as much healthy root mass as possible.
5. Prepare the New Potting Mix
Tip: Use a coarse mix like orchid bark, charcoal, or perlite for pots, or a minimal mix for baskets (e.g., Vandas may need only loose bark). Soak the mix in water for 10-15 minutes, then drain.
Why It Matters: Coarse mixes ensure aeration and drainage, mimicking epiphytic conditions and preventing waterlogging.
Action: Choose rePotme Orchid Bark for most orchids or sphagnum moss for higher moisture retention in dry climates.
6. Position the Orchid in the New Container
Tip: Place the orchid in the center of the pot or basket, spreading roots evenly. For baskets, ensure aerial roots hang freely or are loosely tucked into the liner. For pots, position the oldest growth toward the edge to allow new growth space.
Why It Matters: Proper positioning supports balanced growth and prevents root crowding.
Action: Add the potting mix gradually, tapping the container to settle it without compacting. For baskets, secure roots loosely with coir or wire if needed.
7. Water and Settle the Orchid
Tip: Water lightly after repotting to settle the mix, ensuring no air pockets remain. Wait 2-3 days before resuming regular watering (every 5-7 days for pots, 3-5 days for baskets).
Why It Matters: Light watering helps roots adjust without causing rot, especially in fresh media.
Action: Place the orchid in a Humidity Tray to maintain 50-70% humidity, especially for baskets in dry climates.
8. Provide Post-Repotting Care
Tip: Place the orchid in bright, indirect light (e.g., east-facing window) and avoid direct sun for 1-2 weeks. Maintain 60-85°F and 50-70% humidity. Fertilize lightly after 2 weeks.
Why It Matters: Gentle conditions reduce transplant shock and encourage root establishment.
Action: Monitor roots for green tips and mist lightly if humidity drops. Resume normal care after 2-3 weeks.
9. Monitor for Pests and Stress
Tip: Check for pests like scale or spider mites post-repotting, as stress can attract them. Watch for yellowing leaves, indicating overwatering or poor light.
Why It Matters: Early intervention prevents long-term damage, ensuring a healthy transition.
Action: Inspect weekly and adjust watering or light based on the orchid’s response.
Additional Tips
Timing: Repot every 1-2 years or when the mix degrades. Avoid frequent repotting to minimize stress.
Conclusion
Repotting an orchid in a pot or hanging basket rejuvenates its growth. By choosing the right basket, mix, and care routine, you ensure healthy roots and vibrant blooms.